3DF Zephyr and Photogrammetry
So a while ago, I was super into 3D printing. It's tapered off a bit, but I still keep my 3D printer within reach - ready to print something new at a moment's notice. I always thought, "Hm, I should learn how to do 3D modelling or something...", but whenever I tried to pick up Blender, I would always get intimidated by it.
Fast forward to 2023 and during one of my weekly syncs with my manager, the idea of 3D scanners came up. I remember seeing a video before where someone did a 3D scan using an iPhone (using its LiDAR scanner) and thought it wouldn't really be possible for an Android phone to do that for a while. Little did I know but 3D scanning is actually pretty simple nowadays - with entry requirements as low as a phone that has a camera.
I first stumbled upon PolyCam, it looked like it's one of the most simplest scanners out there with pretty high reviews. Although I was able to make a pretty quick sample scan with a random acrylic stand I had on my table, I wanted to see what other options I had after seeing the pricing and its free limitations. After limiting my options to what's available for free, I stumbled upon 3DF Zephyr which has an unlimited free mode (albeit, slightly restricted - most importantly to 50 photos per capture) and a lifetime license.
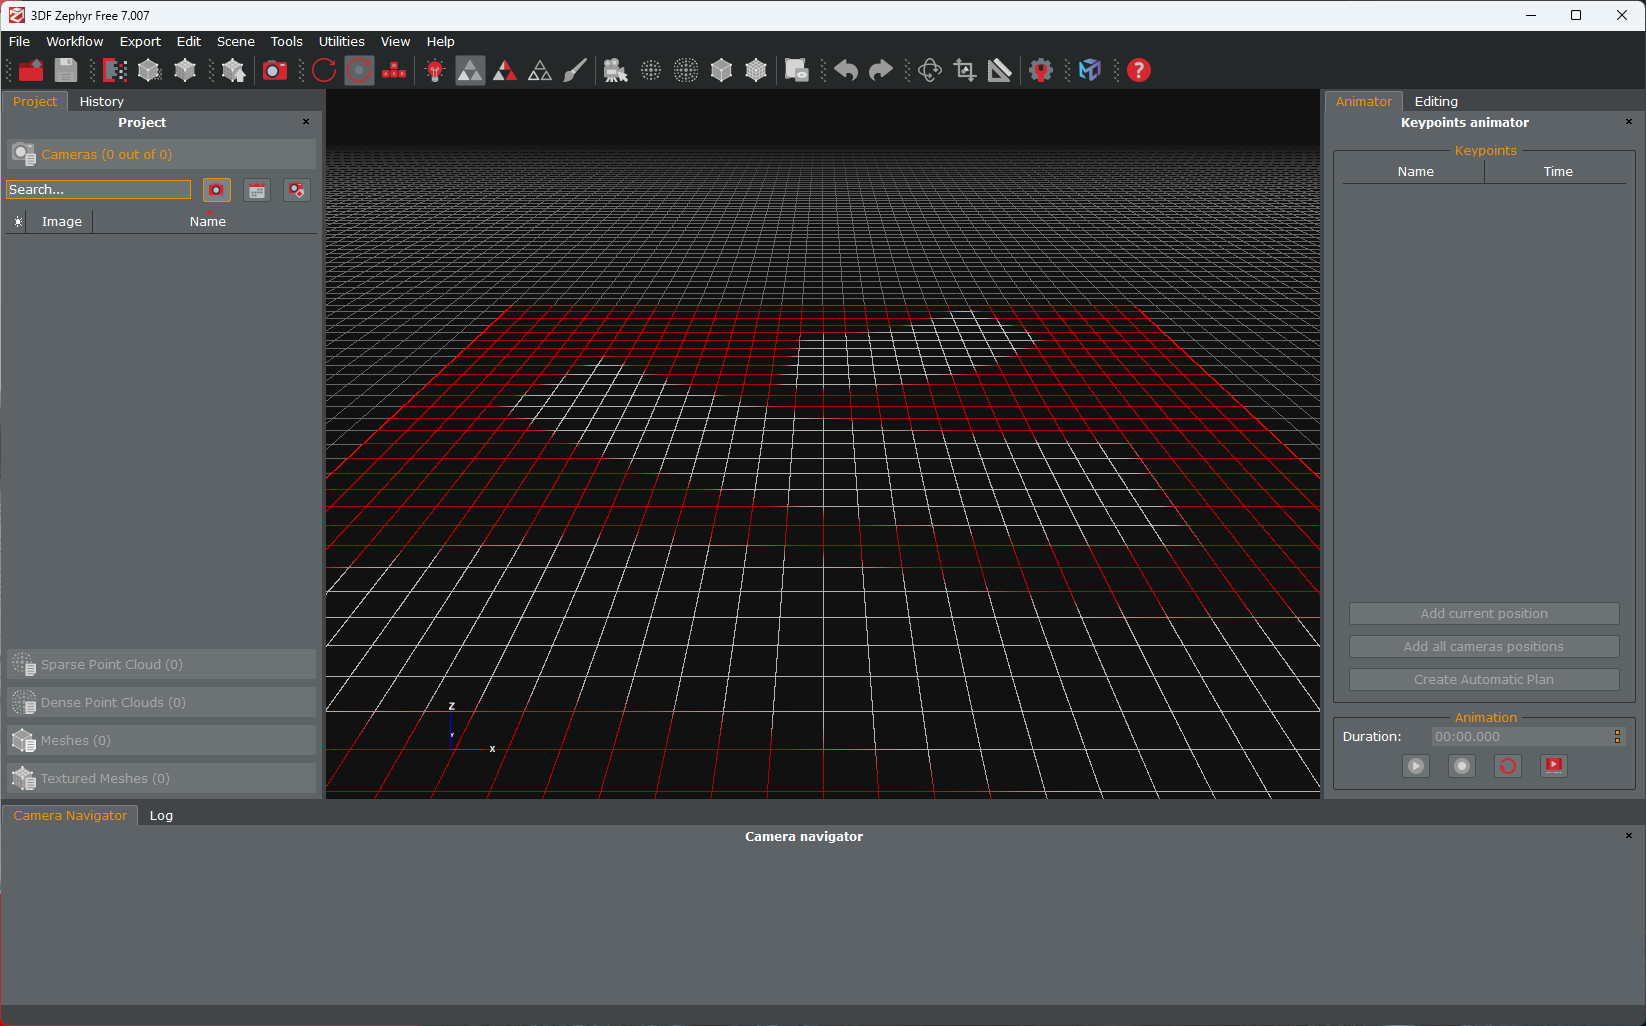
Once again, after installing it I was faced with a UI that looked a bit complicated. But for some reason, I was somewhat motivated to learn this tool this time around.
At first, I tried using some old 360 captures I took a while ago. Unfortunately using the default settings didn't get me anything usable.
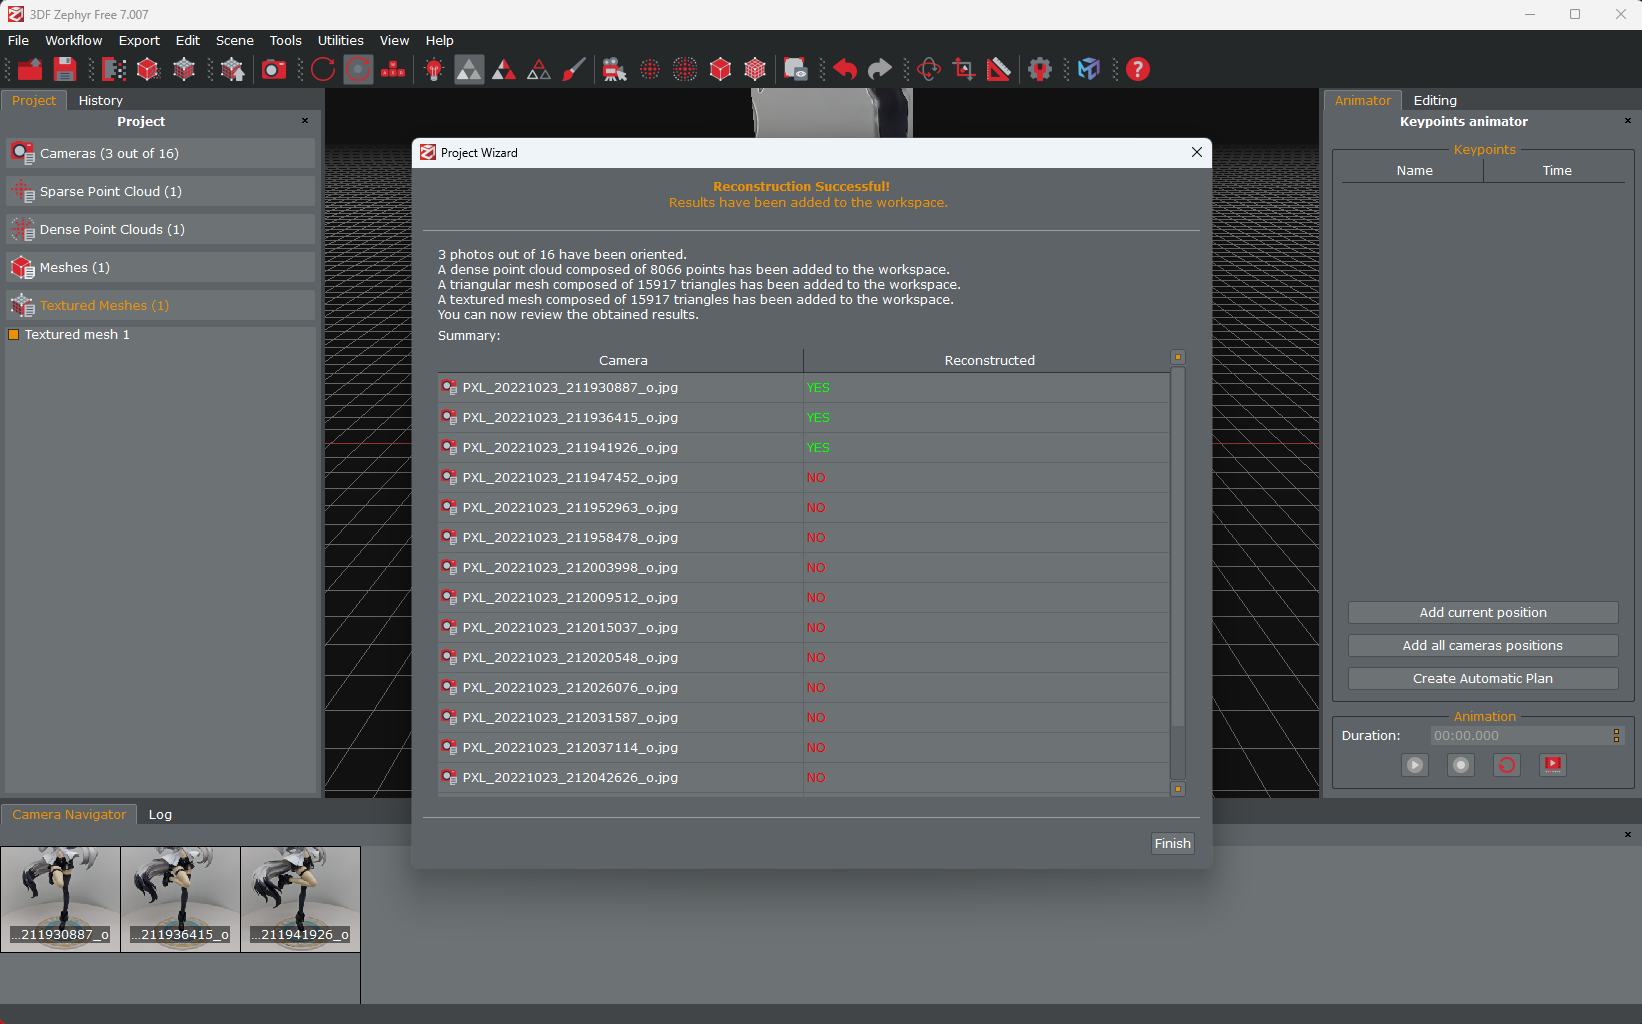
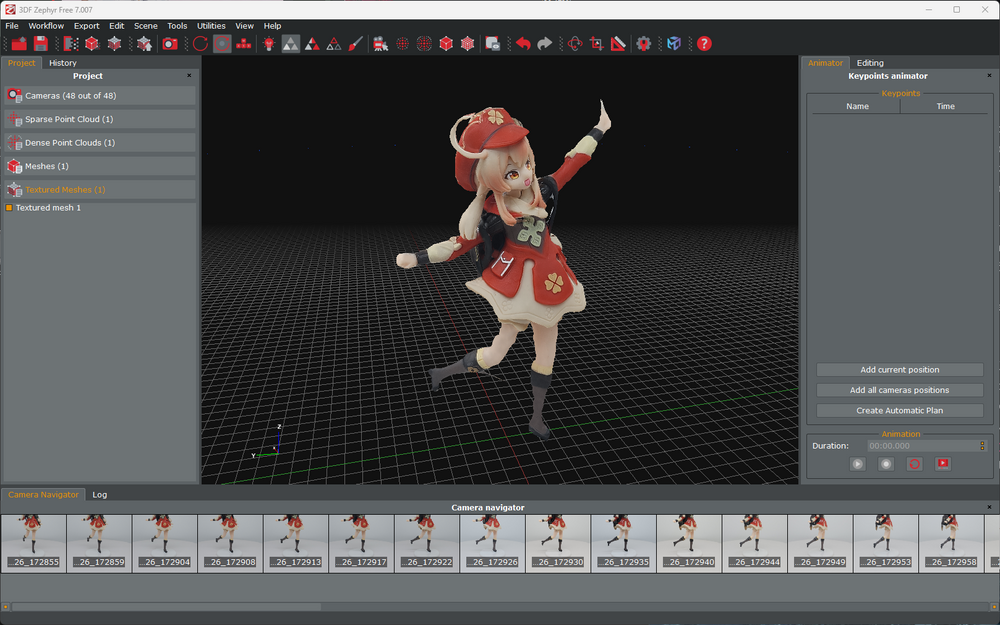
After digging around for a tiny bit, I found a Steam post where someone noted that 3DF Zephyr needs at least 3 pictures for each point, so I fired up my little lightbox + turntable rig and went to capture a 48-point shot this time.
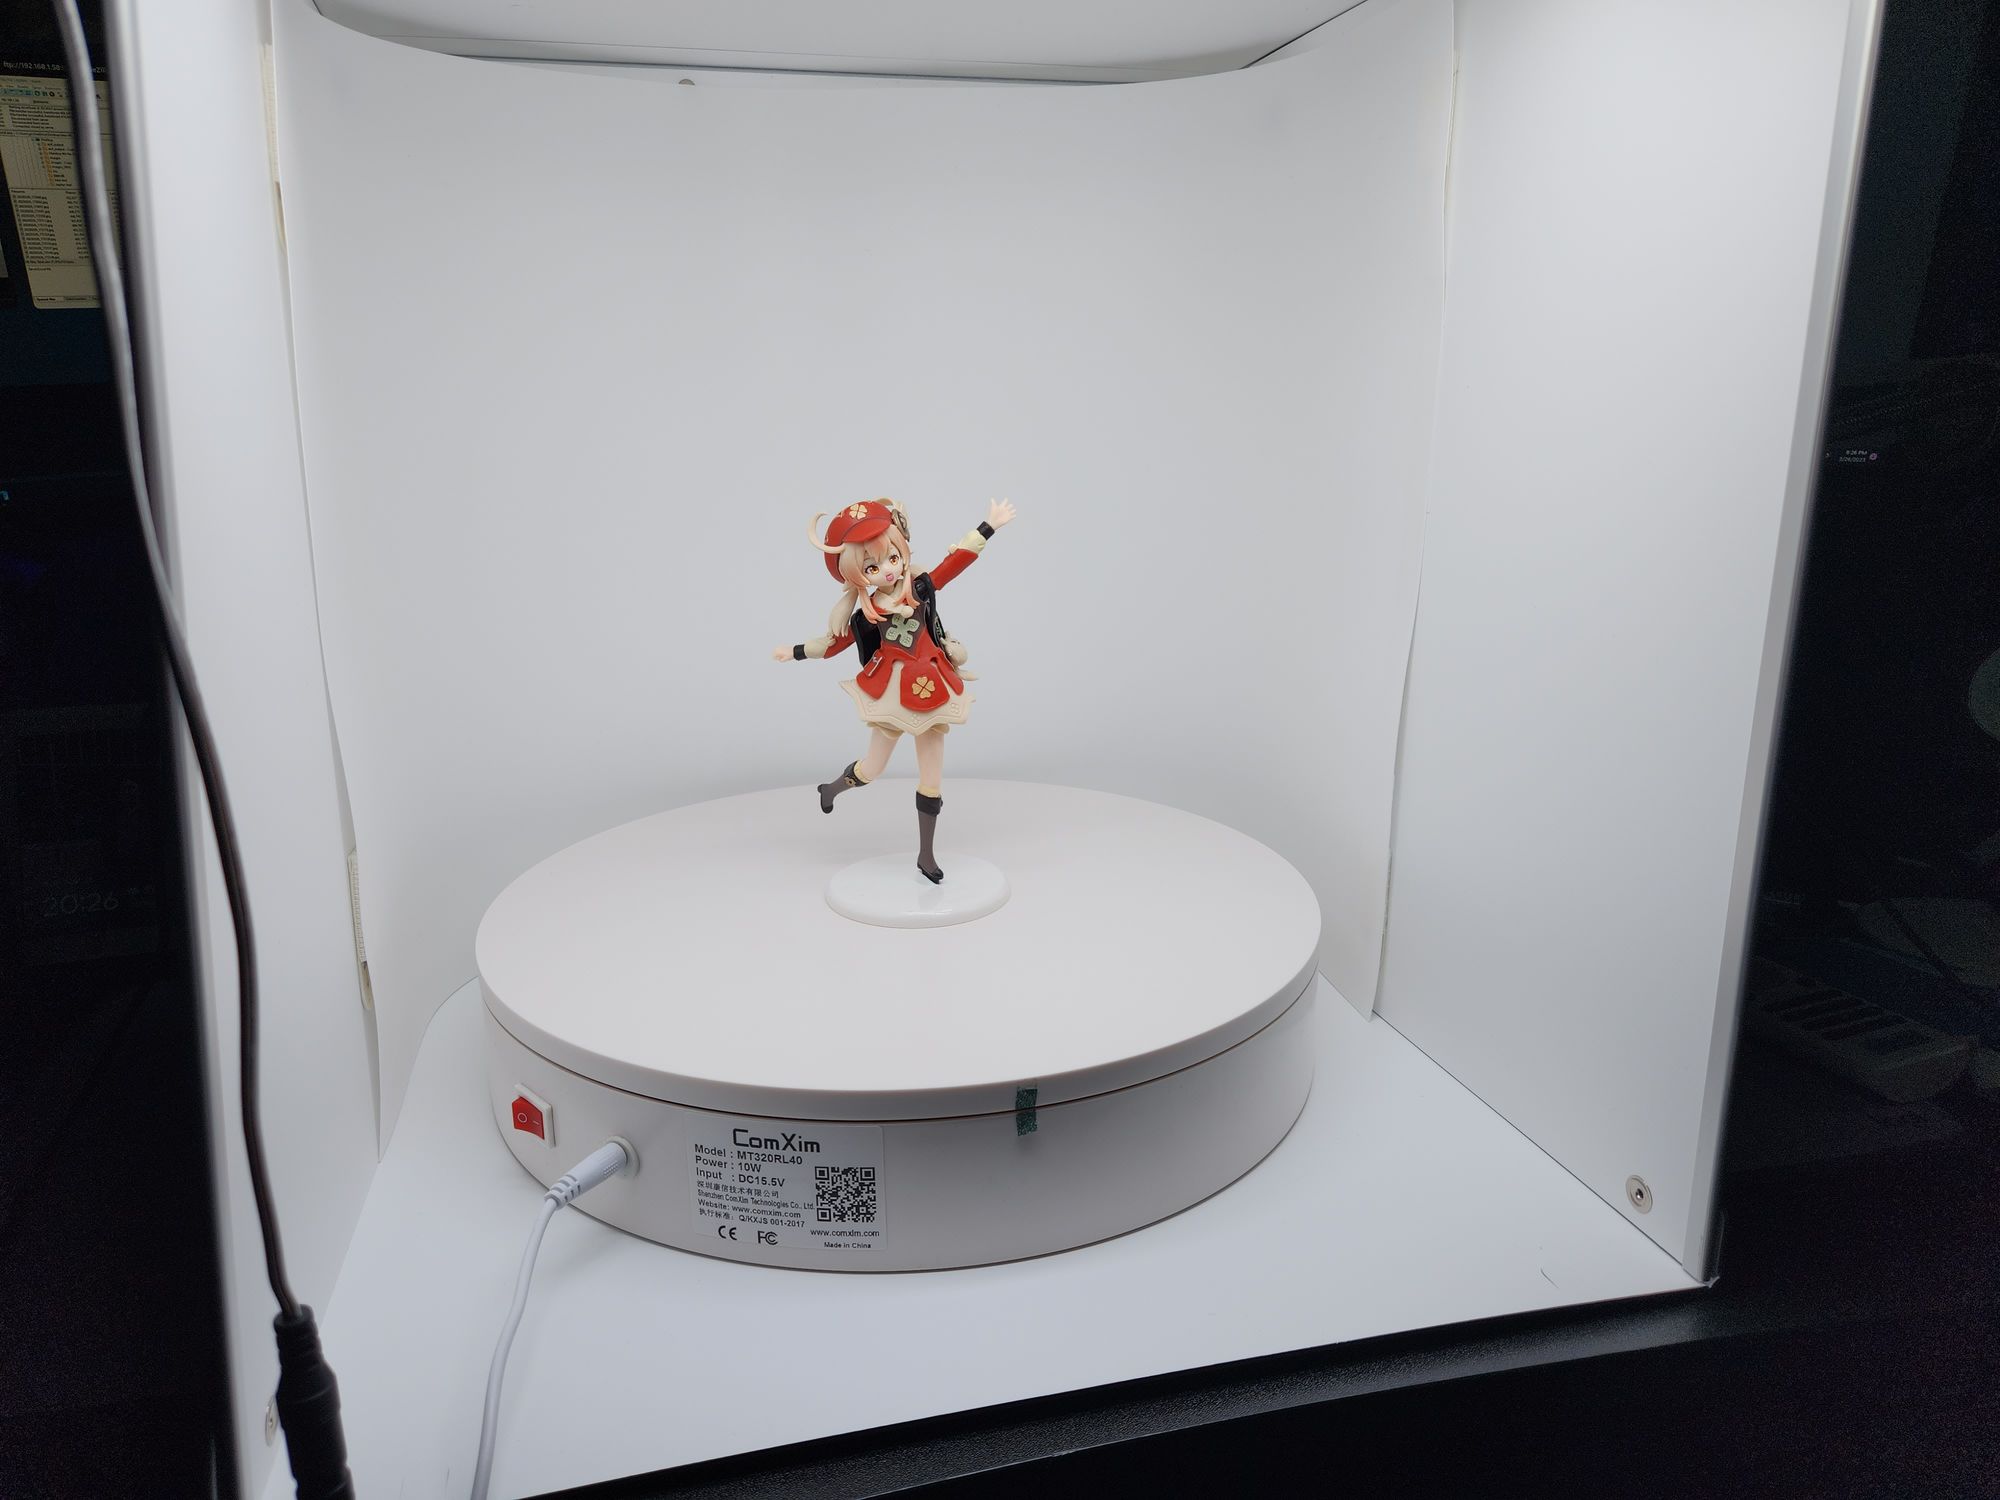
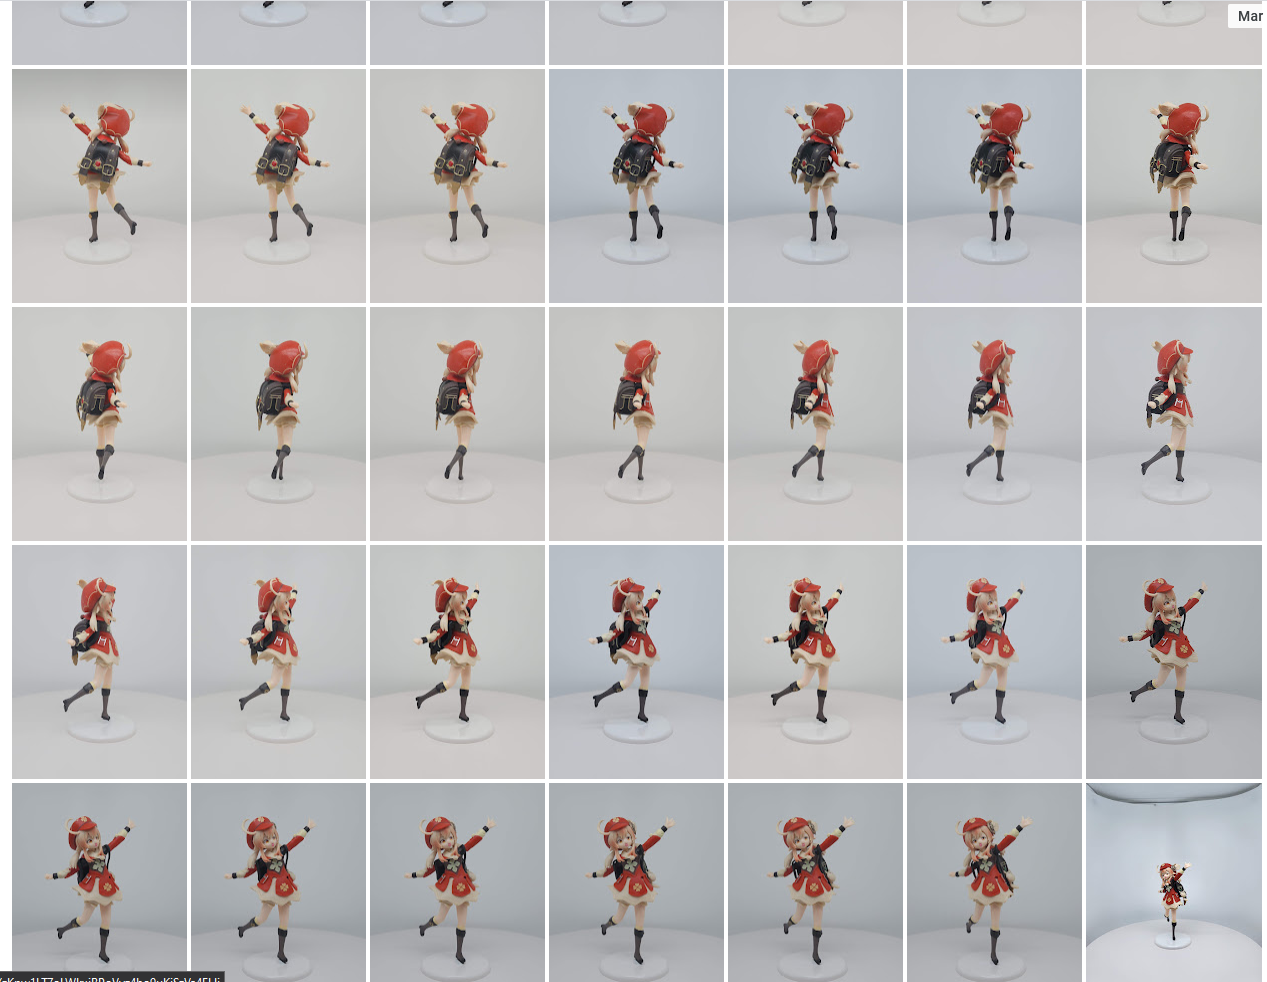
It's definitely not perfect. I kind of sped through the image masking process - for future captures I would definitely consider using higher quality photos. But hey, it's not the worst. I did use a white background although that's usually a good idea, this Klee's skin tone was pretty close to the background color. I could've tried tweaking the lightboxes lighting a bit but hindsight is 20/20.
Regardless, I think this is a pretty good start for my journey of cataloging my figure collection. I originally wanted to do a 360 degree gallery but this 3D model method feels looks so much cooler. Bonus points too - I could theoretically smoothen this ount and potentially even 3D print a new copy too. The possibilities are endless!